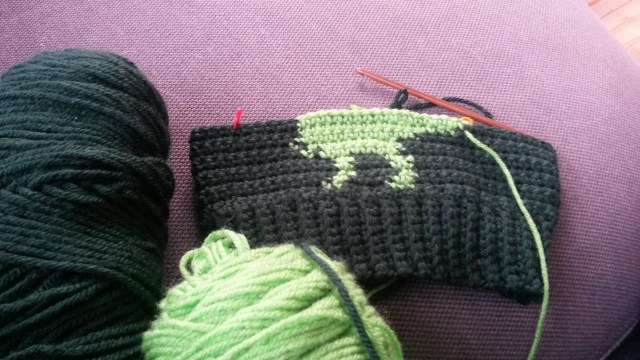
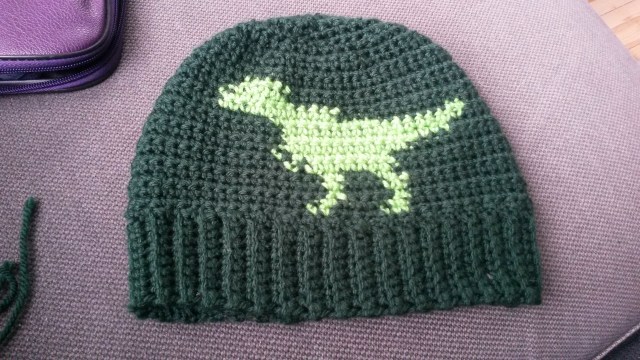
T-Rex hat in progress
Every year I make hats, neck warmers, mitts etc., to keep my munchkins warm through the winter. I usually start in August in hopes of being finished by the first chilly mornings of late September and early October. This year, however, I couldn’t get my act together.
Thankfully, Mother Nature was on my side. Southern Ontario has experienced an unbelievably warm Autumn. Last Saturday it was 25 degrees Celsius. TWENTY FIVE DEGREES CELSIUS! ON OCTOBER 21ST! I finally managed to get started earlier this week, just in the nick of time, because we had our first chilly morning yesterday.
I started with my Big Boy, purely because my girls have thick, gorgeous hair to keep their heads warm and buy me some time, and Baby Boy has a hat he can still squeeze into for now. I saw this T-Rex hat pattern on Interweave a while back and just knew it would be perfect for him.
Finished Hat
This pattern uses the intarsia method to create the T-Rex on the hat. The pattern advises using several bobbins of yarn to achieve this. Given that the T-Rex is made using a single colour and that I get interrupted FAR TOO OFTEN when crocheting to manage several bobbins, I choose not to use them unless it is essential to the pattern. What I did instead was carry the yarn along and just crocheted over it as I went.
To do this, you just lay the yarn along the row you are currently crocheting and complete your stitch over the loops from the previous row AND the yarn you want to crochet over. The end result is that the yarn will be covered by your new stitches. The process looks like this:
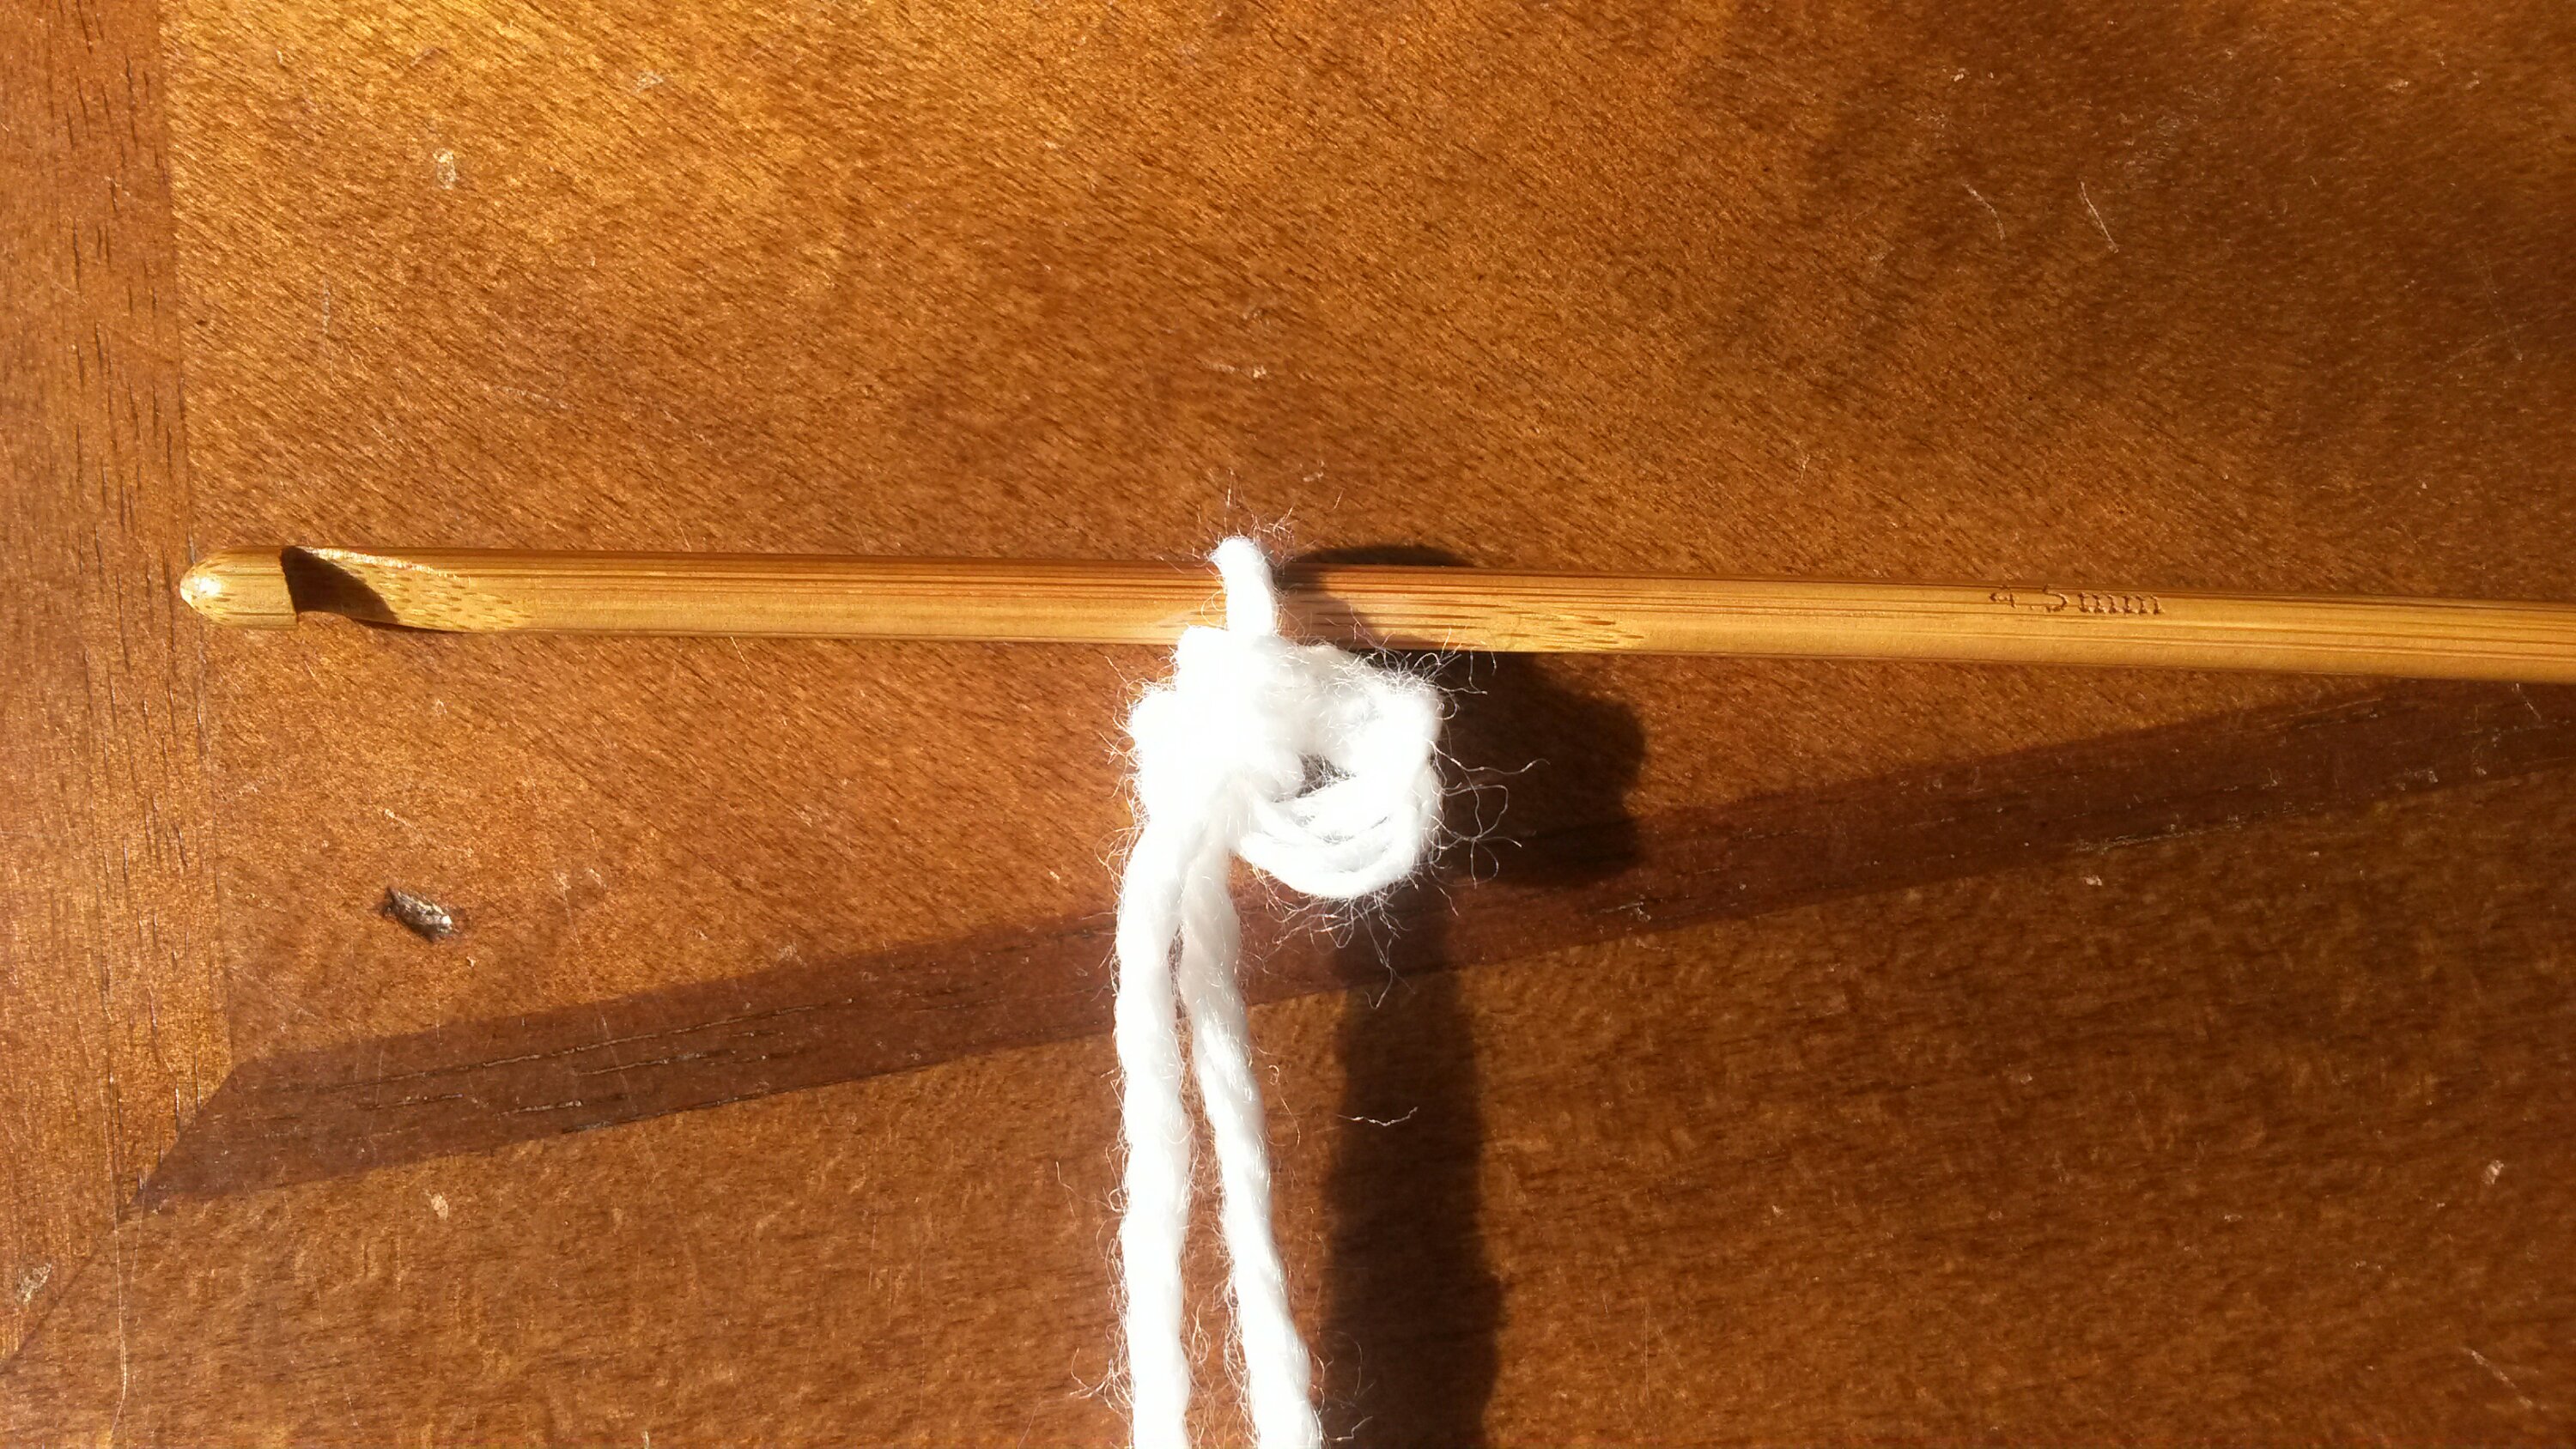
Step 1:
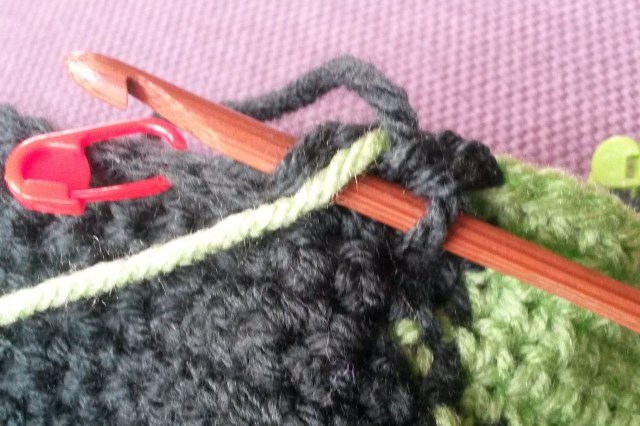
Align the yarn with the loops of the stitch you are working with from the previous row
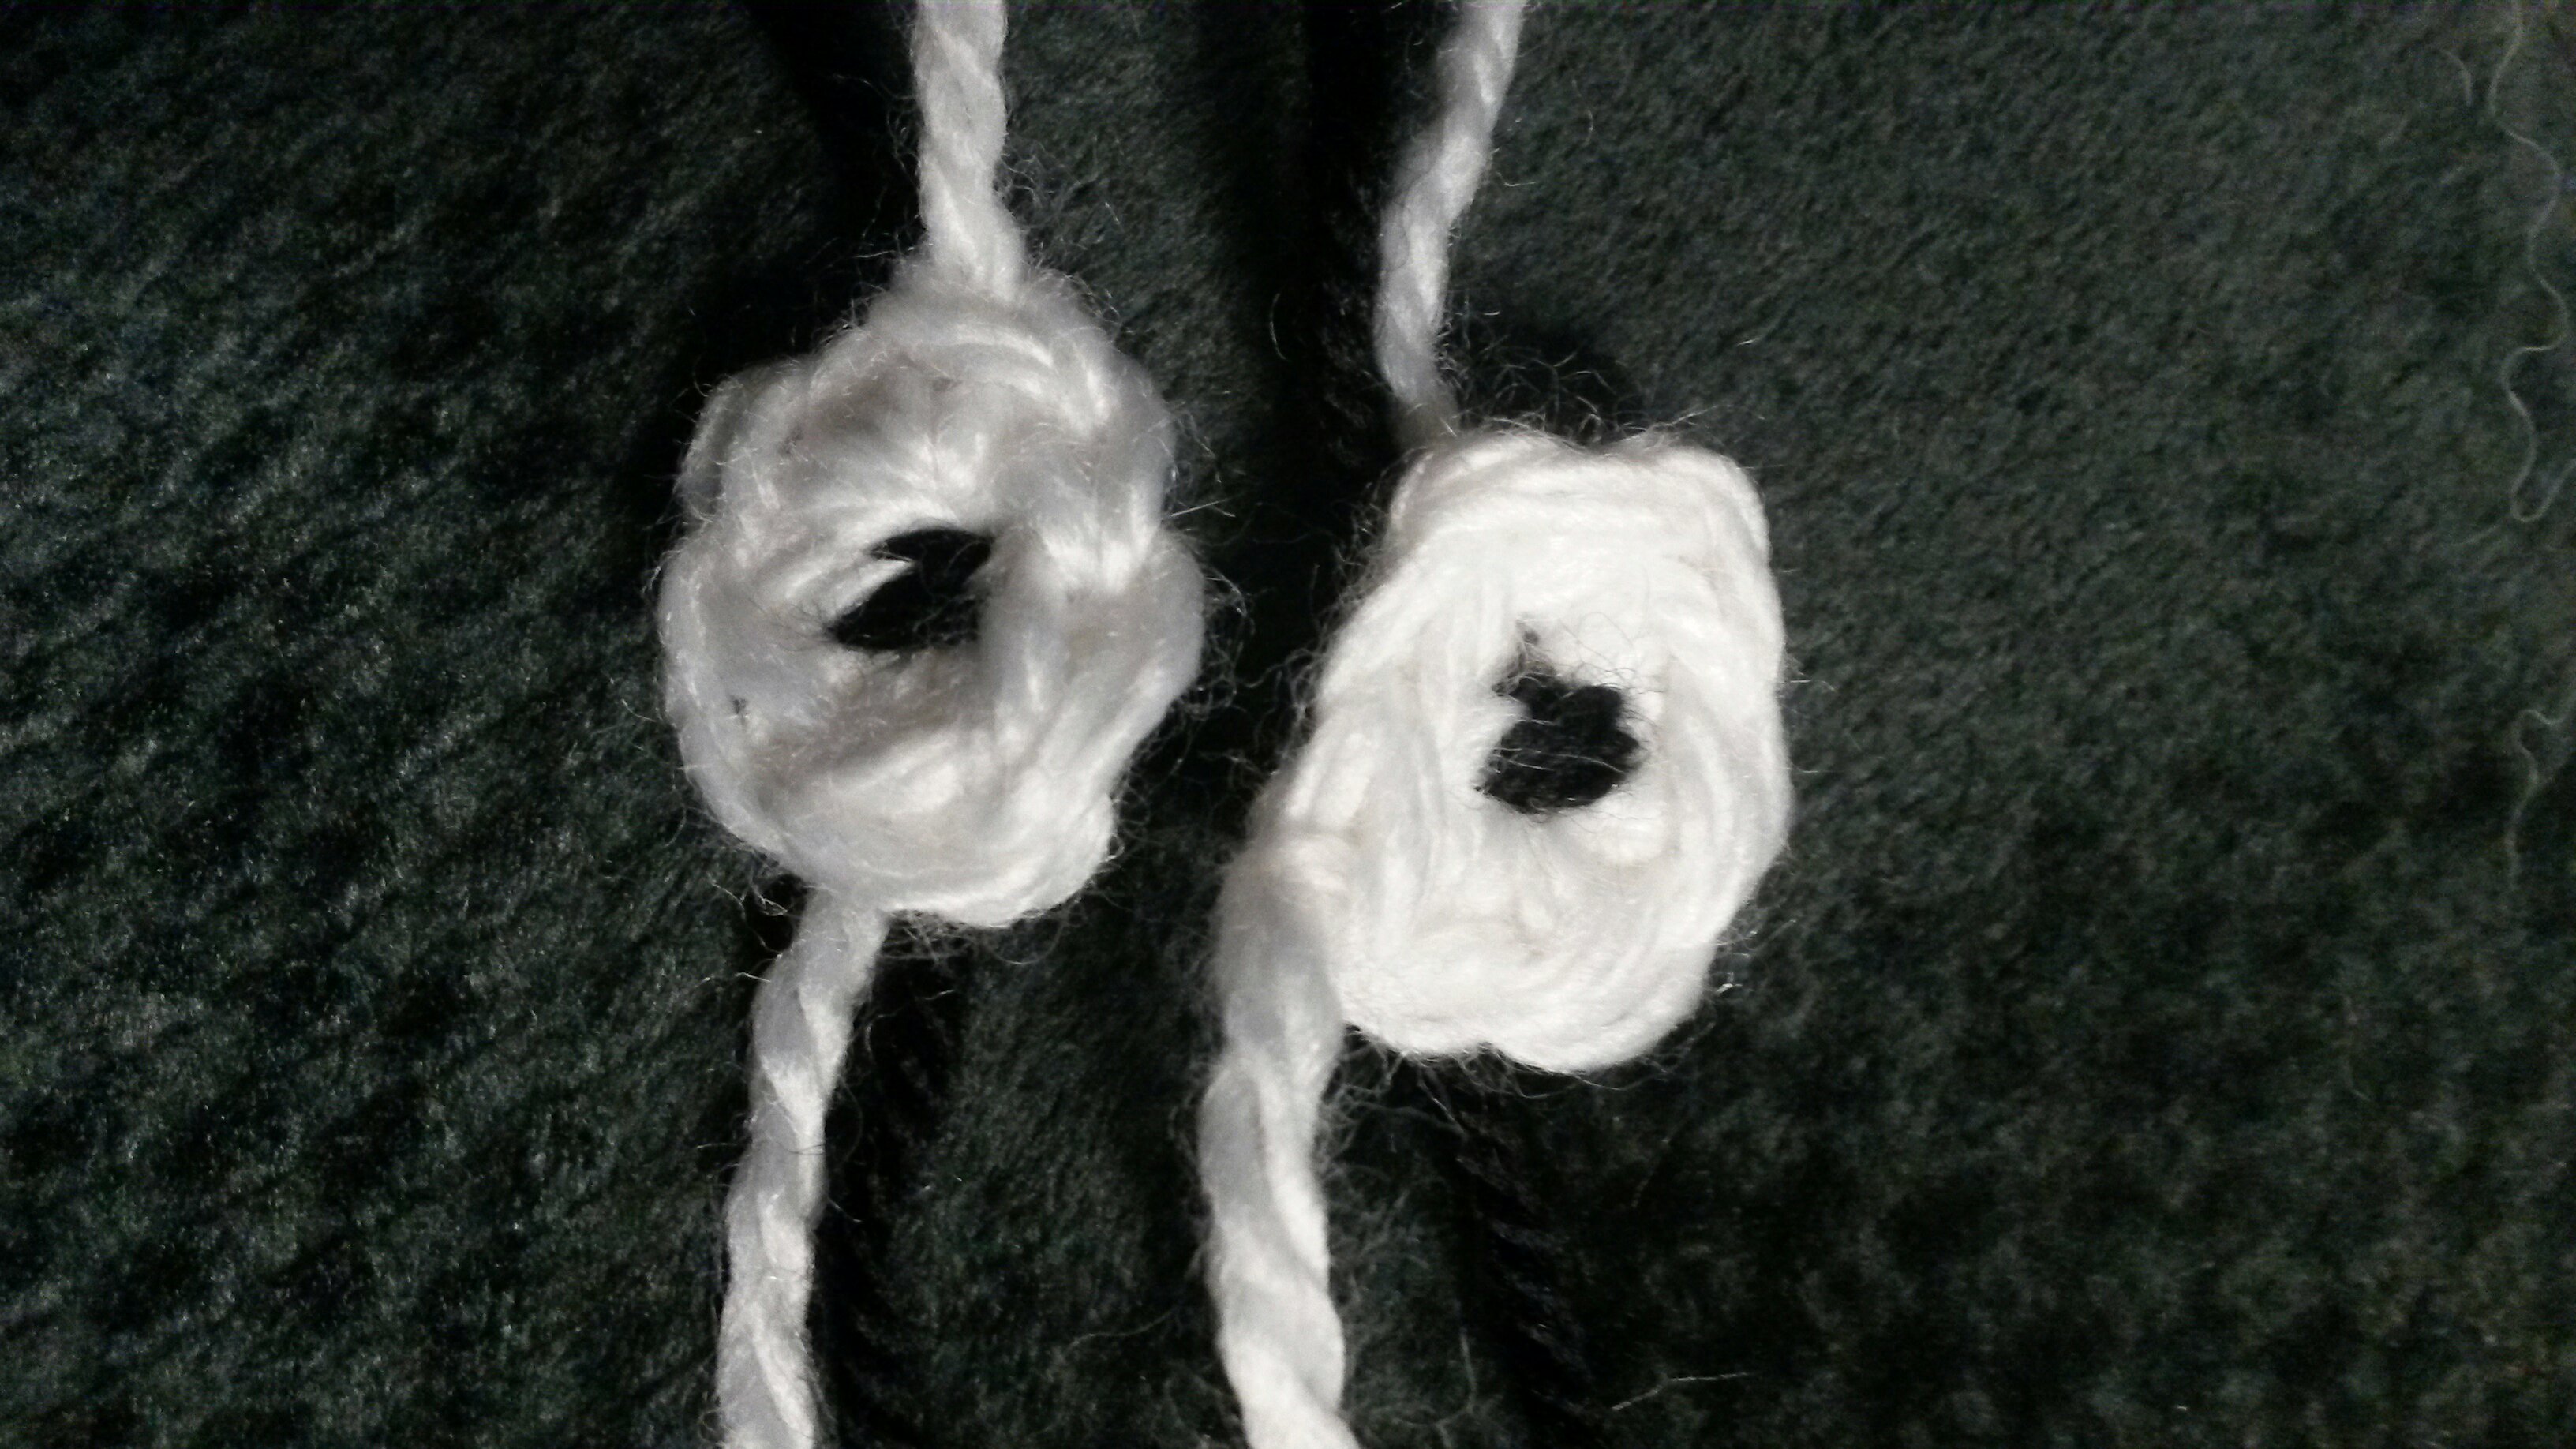
Step 2:

Pull up a loop, making sure it goes around BOTH the yarn you are covering AND the loops from the previous row
Step 3:
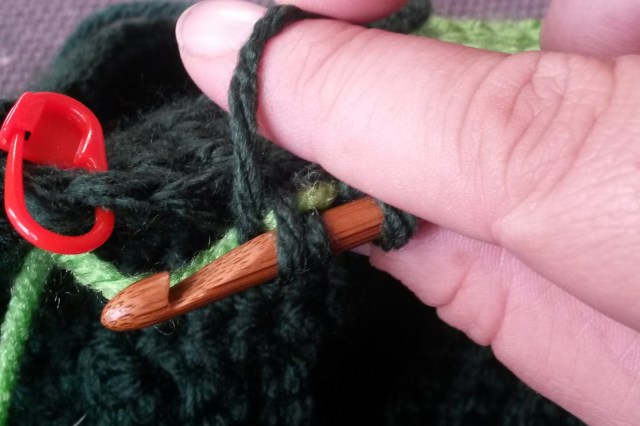
Yarn over and complete your stitch.
The thing to keep in mind when using this method is that you need to look ahead and make sure you cover the yarn you are using to make the T-Rex in such a way that it ends up where you will need it for the next row. For example, if you have finished working with the colour needed for the T-Rex on your current row, you look at the pattern and see where you will need the yarn in the next row. If its two stitches ahead of where you are now, then you need to cover the yarn with the next two stitches so that when you get to that row the T-Rex yarn will be exactly where you need it. It can be a bit tricky, but with a bit of practice it should become easy and you can save yourself the effort of managing bobbins and weaving in extra ends.
Overall, this was a fairly easy pattern to follow. Big Boy is 5, but has a big head so I made the biggest size in this pattern. It is definitely a bit big, but I think the 4 year old size would have been too small. Big Boy loves it just the way it is, and it gives some room for him to grow.
If you get a chance to try this pattern, I hope your child enjoys their hat as much as mine!
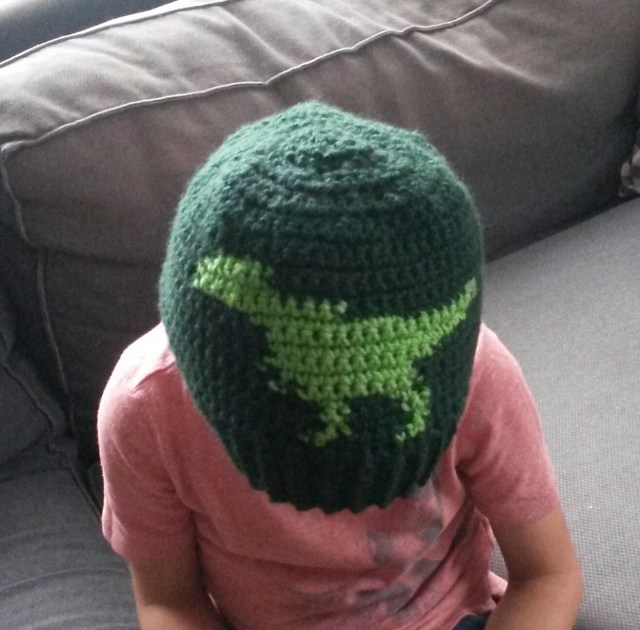
Big Boy modelling his new hat